When I began learning PHP, I intentionally avoided large frameworks and complex projects. Instead, I sought a practical project that would be directly applicable to a real website.
So I built a contact form.
Although this project appears basic, it imparts many essential skills required for backend web development:
- How forms send data
- How PHP receives it
- How to validate user input
- How to show errors and success messages properly
- how to structure code cleanly by separating logic across multiple files
In this tutorial, I will demonstrate the exact steps I followed to build this project. No database is required, and the implementation uses only PHP, HTML, and CSS.
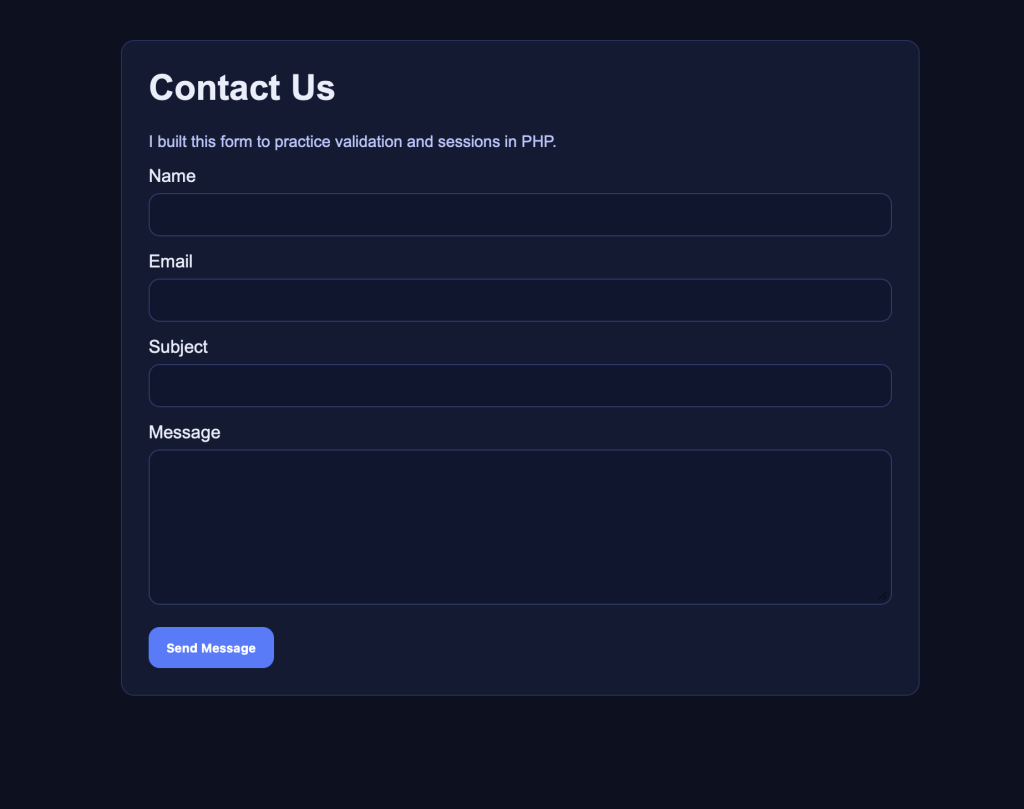
The Finished Project
Project Overview
A clean contact form that:
✅ Accepts: Name, Email, Subject, Message
✅ Validates everything on the server (PHP)
✅ Shows friendly error messages
✅ Shows a success message after submit
✅ Keeps your form values when validation fails (so users don’t have to retype everything)
Folder Setup
I made a folder called:
php-contact-form/Then I created three files inside it:
php-contact-form/ index.php process.php style.css- index.php = the form page
- process.php = the code that handles the submission
- style.css = provides basic styling to ensure a modern appearance
Step 1: Add Some Styling (style.css)
The following CSS offers a straightforward approach to achieve a clean and modern design:
* { box-sizing: border-box; }
body {
  font-family: Arial, sans-serif;
  background: #0b1020;
  color: #e9eefc;
  margin: 0;
  padding: 40px 16px;
}
.container {
  max-width: 720px;
  margin: 0 auto;
  background: #121a33;
  border: 1px solid #23305c;
  border-radius: 12px;
  padding: 24px;
}
h1 { margin-top: 0; }
label { display: block; margin: 14px 0 6px; }
input, textarea {
  width: 100%;
  padding: 12px;
  border-radius: 10px;
  border: 1px solid #2b3a6c;
  background: #0f1630;
  color: #e9eefc;
}
textarea { min-height: 140px; resize: vertical; }
button {
  margin-top: 16px;
  padding: 12px 16px;
  border: 0;
  border-radius: 10px;
  background: #4f7cff;
  color: white;
  font-weight: bold;
  cursor: pointer;
}
button:hover { opacity: 0.95; }

.notice {
  padding: 12px;
  border-radius: 10px;
  margin: 14px 0;
}
.notice.success { background: #0f2a1a; border: 1px solid #1f6a3e; }
.notice.error { background: #2a1414; border: 1px solid #7b2b2b; }

.small {
  color: #b9c5ff;
  font-size: 0.9rem;
}
Step 2: Build the Form Page (index.php)
This file is responsible for displaying the form and presenting any success or error messages.
I recommend learning about sessions early, as they enable the transfer of messages between requests.
Here’s the full index.php:
<?php
session_start();

// I store messages and old form values in the session
$success = $_SESSION['success'] ?? null;
$errors  = $_SESSION['errors'] ?? [];
$old     = $_SESSION['old'] ?? [];

// This clears them so the message only shows once
unset($_SESSION['success'], $_SESSION['errors'], $_SESSION['old']);

// Helper function: safely print user input (prevents XSS)
function e(string $value): string {
  return htmlspecialchars($value, ENT_QUOTES, 'UTF-8');
}
?>
<!doctype html>
<html lang="en">
<head>
  <meta charset="utf-8" />
  <meta name="viewport" content="width=device-width, initial-scale=1" />
  <title>PHP Contact Form Tutorial</title>
  <link rel="stylesheet" href="style.css" />
</head>
<body>
  <div class="container">
    <h1>Contact Us</h1>
    <p class="small">I built this form to practice validation and sessions in PHP.</p>

    <?php if ($success): ?>
      <div class="notice success"><?= e($success) ?></div>
    <?php endif; ?>

    <?php if (!empty($errors)): ?>
      <div class="notice error">
        <strong>Please fix the following:</strong>
        <ul>
          <?php foreach ($errors as $err): ?>
            <li><?= e($err) ?></li>
          <?php endforeach; ?>
        </ul>
      </div>
    <?php endif; ?>

    <form method="POST" action="process.php" novalidate>
      <label for="name">Name</label>
      <input id="name" name="name" type="text" value="<?= e($old['name'] ?? '') ?>" required />

      <label for="email">Email</label>
      <input id="email" name="email" type="email" value="<?= e($old['email'] ?? '') ?>" required />

      <label for="subject">Subject</label>
      <input id="subject" name="subject" type="text" value="<?= e($old['subject'] ?? '') ?>" required />

      <label for="message">Message</label>
      <textarea id="message" name="message" required><?= e($old['message'] ?? '') ?></textarea>

      <button type="submit">Send Message</button>
    </form>
  </div>
</body>
</html>
Rationale for Using htmlspecialchars()
Because if someone enters something like:
<script>alert('hi')</script>It is important to prevent such scripts from executing when displaying user input. Escaping output is a fundamental security practice for beginners.
Step 3: Handle the Submission (process.php)
This is where the form data is validated.
Here’s the full process.php:
<?php
session_start();

if ($_SERVER['REQUEST_METHOD'] !== 'POST') {
  header('Location: index.php');
  exit;
}

// I trim everything so spaces don’t count as “valid input”
$name    = trim($_POST['name'] ?? '');
$email   = trim($_POST['email'] ?? '');
$subject = trim($_POST['subject'] ?? '');
$message = trim($_POST['message'] ?? '');

// Save old values so I can refill the form if there’s an error
$_SESSION['old'] = [
  'name' => $name,
  'email' => $email,
  'subject' => $subject,
  'message' => $message,
];

$errors = [];

// Validation rules
if ($name === '' || strlen($name) < 2) {
  $errors[] = 'Name must be at least 2 characters.';
}

if ($email === '' || !filter_var($email, FILTER_VALIDATE_EMAIL)) {
  $errors[] = 'Please enter a valid email address.';
}

if ($subject === '' || strlen($subject) < 3) {
  $errors[] = 'Subject must be at least 3 characters.';
}

if ($message === '' || strlen($message) < 10) {
  $errors[] = 'Message must be at least 10 characters.';
}

// If I have errors, I redirect back to index.php and show them there
if (!empty($errors)) {
  $_SESSION['errors'] = $errors;
  header('Location: index.php');
  exit;
}

// If everything is good, I set a success message
$_SESSION['success'] = "Thanks, $name! Your message was received.";

// Clear old form data since the submission worked
unset($_SESSION['old']);

header('Location: index.php');
exit;
Step 4: Run It Locally
If PHP is installed, the built-in server provides the most straightforward method for running the project locally.
Open a terminal inside the project folder and run:
php -S localhost:8000Then open:
http://localhost:8000Key Lessons from This Project
This project provided practical experience with essential PHP fundamentals:
- POST requests
- server-side validation (the only kind that truly matters)
- sessions and redirects
- flashing messages (show once, then disappear)
- output escaping (basic security)
Successfully completing this project establishes a strong foundation for developing login systems, dashboards, and CRUD applications.
Optional Enhancements for Further Development
For further development, the following enhancements are recommended:
- Save submissions to a MySQL database with PDO
- Actually, email the message using PHPMailer
- Add a spam protection feature (rate limiting / honeypot)
- Add CSRF protection for better security